23 Apr DIY: Tranny Jersey Barrier
Sometimes a spot needs a little bit of work to make it that much better. Some spot purists may say that it’s cheating or not real street, but frankly that doesn’t bother me. There are a number of great spots in and around where I live, but modifying one out of a several barriers at the end of my quiet street to have a quick and tight transition seemed like a fun project, and we thought we’d share it with you. Click below to learn how to create a transition on a jersey barrier yourself.
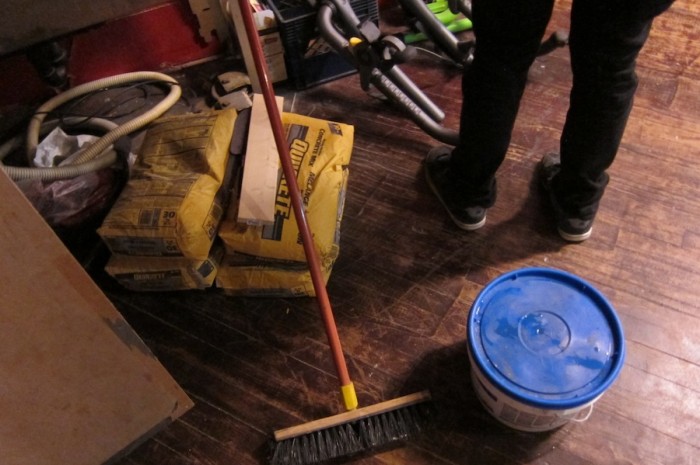
First you need your supplies. Most importantly you’ll need a few bags of quikrete, which should only run you $4 – $5 a bag at most hardware stores or lumber yards. You’ll want to have a broom handy, a board or piece of plywood to mix it on, a bucket of water, a 2 – 3 foot piece of a 2X4 to shape the transition, and a small shovel or hand spade to mix and scoop the quikcrete with.
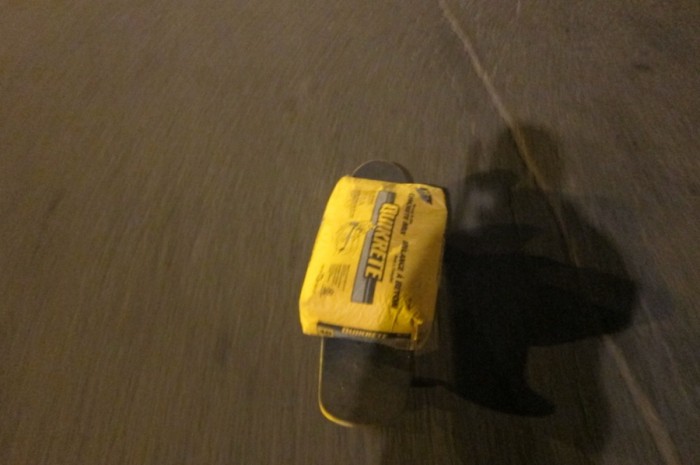
The bags aren’t exactly light. It made sense to push mine down the road on a skateboard.
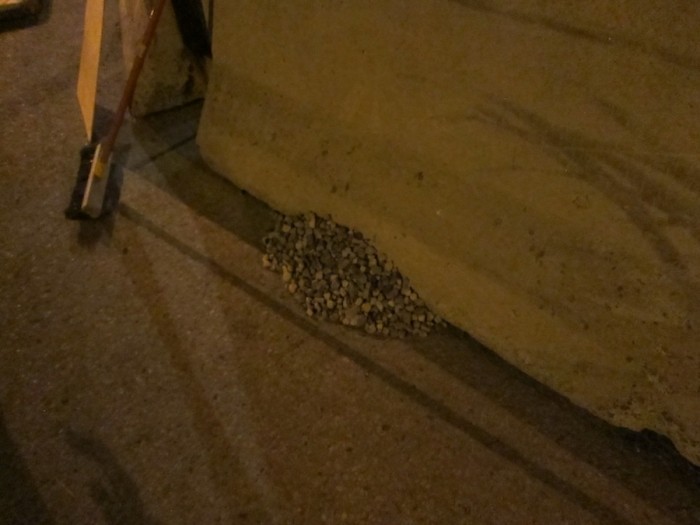
Gather up a small pile of stones from nearby to fill in a bit of the space at the bottom of the barrier before you start laying on your quikcrete. Our aim was to make two small transitions on either side of the barrier roughly 1.5 feet wide, so we didn’t need a lot.
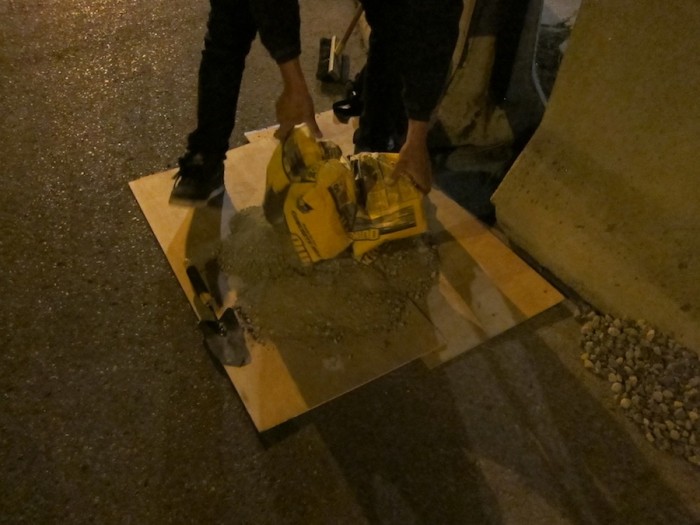
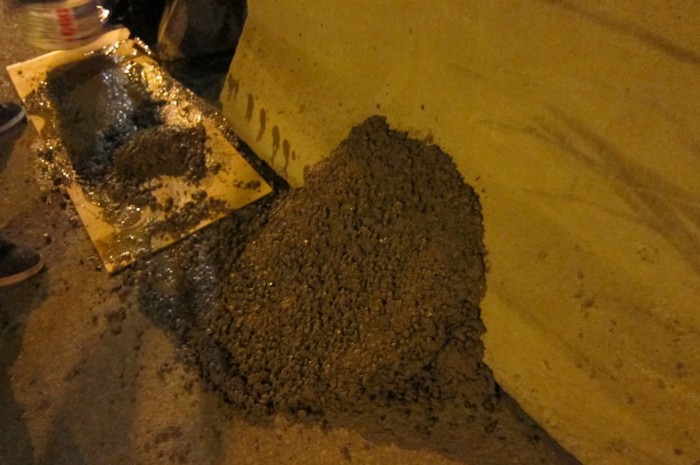
Lay down your plywood and empty out a bag of quikcrete on to it.
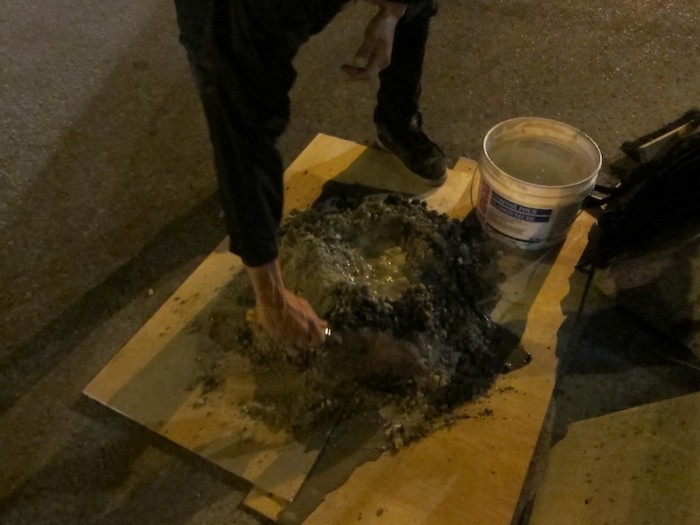
Now you will want to mix your water with it. Instructions generally say 3 litres of water to one bag, so you can use that and start mixing it with your shovel.
This is what your mix will start to look like.
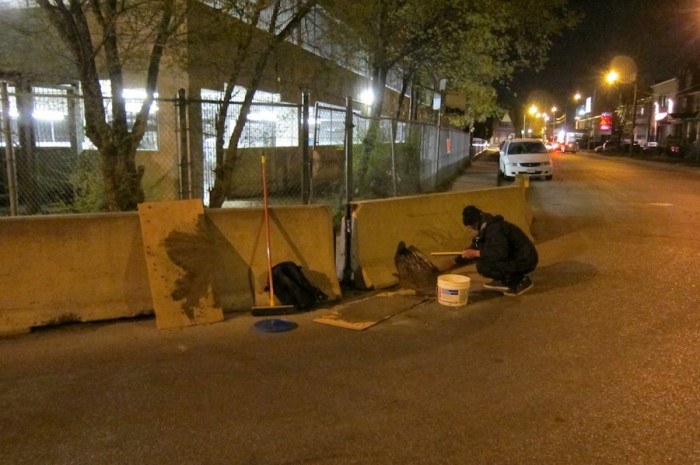
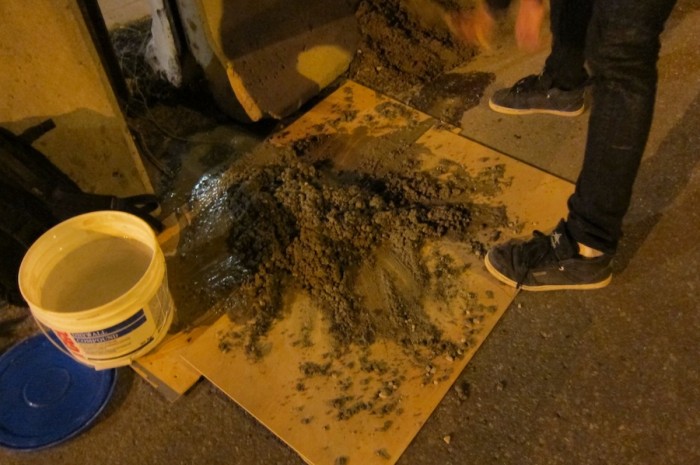
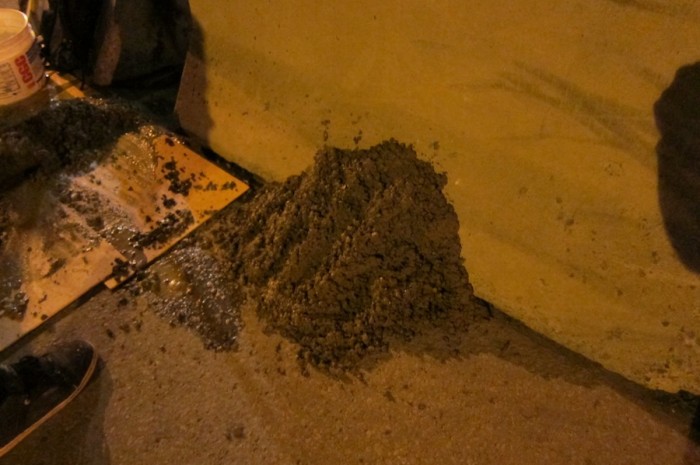
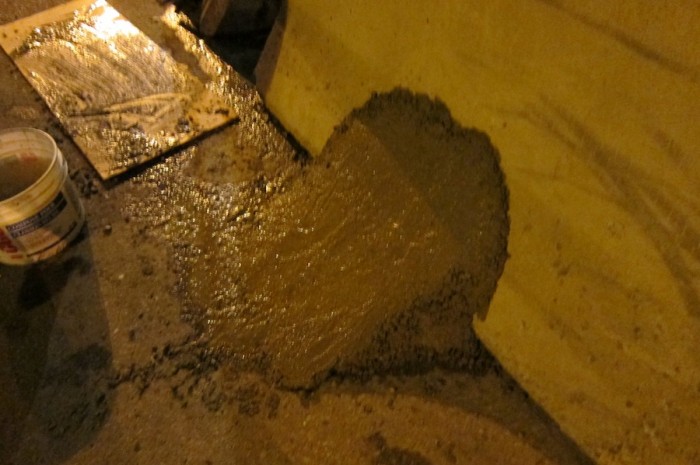
Now use that shovel again and start slopping it on to where you want your transition. Build a strong base and then move upward as far as you want it to you.
It’s starting to take shape.
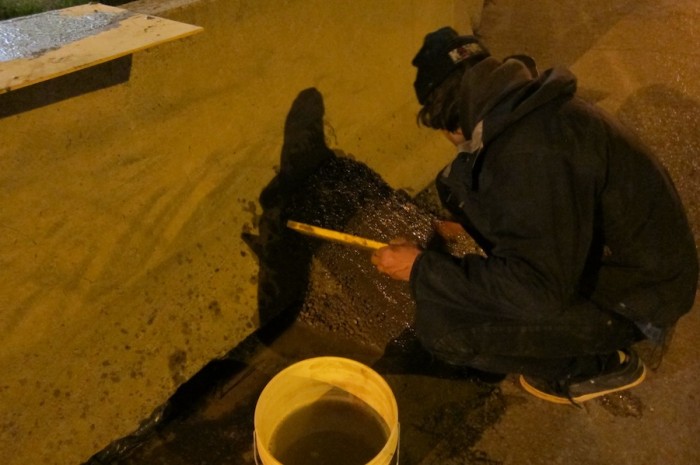
Take your 2X4 and drag it along the face of the transition, with a bit of water added on to keep it moist (not too much because you don’t want to wash it out). Slowly drag it up and down to smoothen it out. Light pressure and some patience are needed until you get your transition exactly how you want it.
It’s looking good.
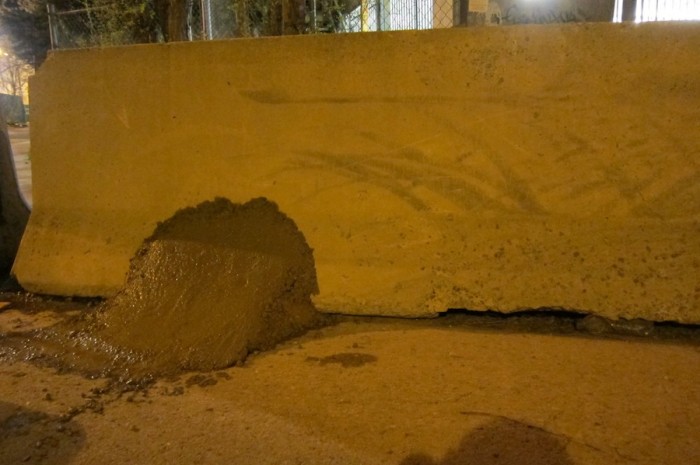
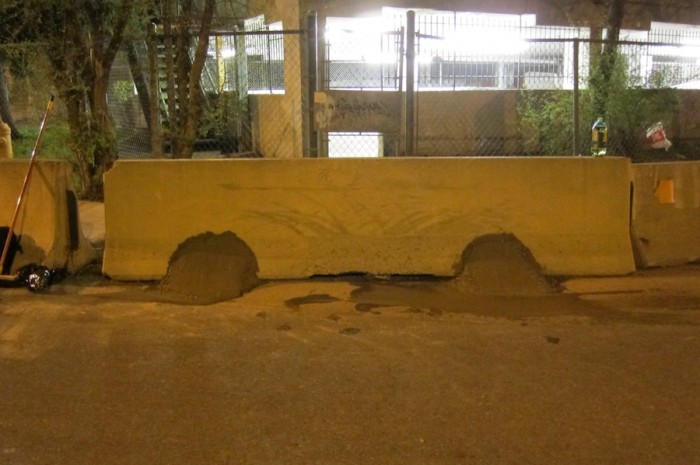
We then did the exact same thing on the other side. If you have enough quikcrete and the time you can make it the full length of the barrier. We did not.
Two very tight transitions complete.
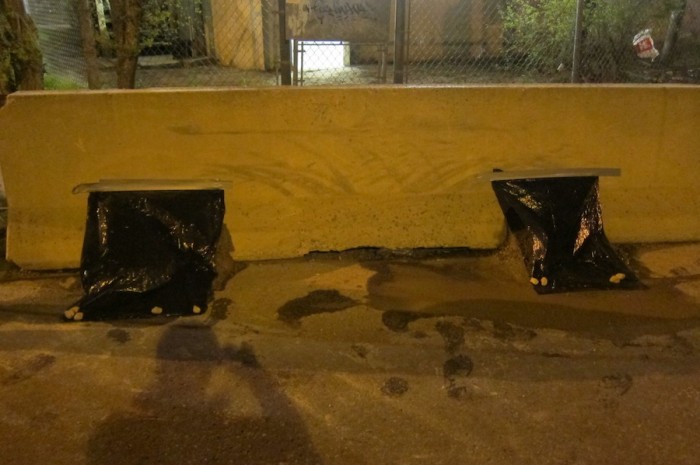
You can cover them with plastic bags as you now have to wait for them to dry and the concrete to cure. Covering them with a bag will slow down drying process which in theory should give you a stronger end result. It may also prevent people walking by from stepping on it, touching it, or trying to write their name in it. Give it a couple of days before you try to ride it, as they will be fragile and you don’t want them to crumble or break apart.
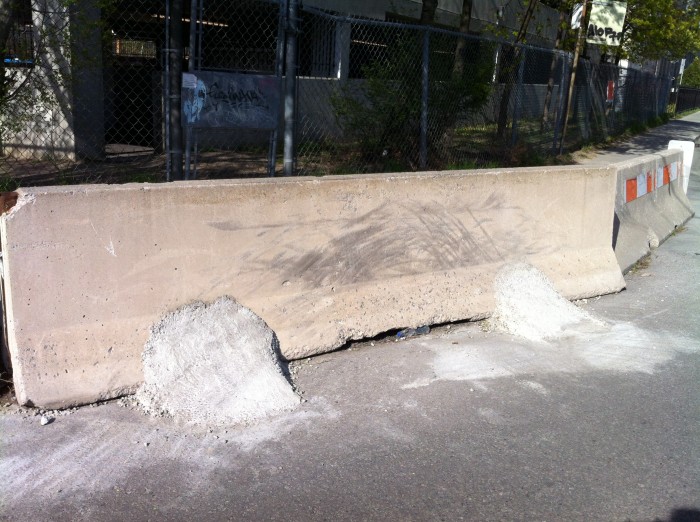
There is no exact science to this, and they likely won’t resemble a perfect quarter pipe that you would find at a skatepark, but that’s part of the fun of it. Now you can enjoy the fruits of your labour and shralp to your heart’s content.

